|
Sawadee ka! Welcome to our featured Thai recipe, taken from my mom Khun Wasana. Kanom Sai Sai is a traditional Thai sweet dough dessert wrapped in banana leaf. The dough has a consistency of something like the Japanese mochi but there is also an inner filling made from coconut and rice flour. To put it simple it's a dessert which uses coconut in various forms to produce 3 layers of coconut bombshell. The flavor can be depicted as sweet and salty, sticky and creamy. Mmmm, I'm all about that coconutty taste. 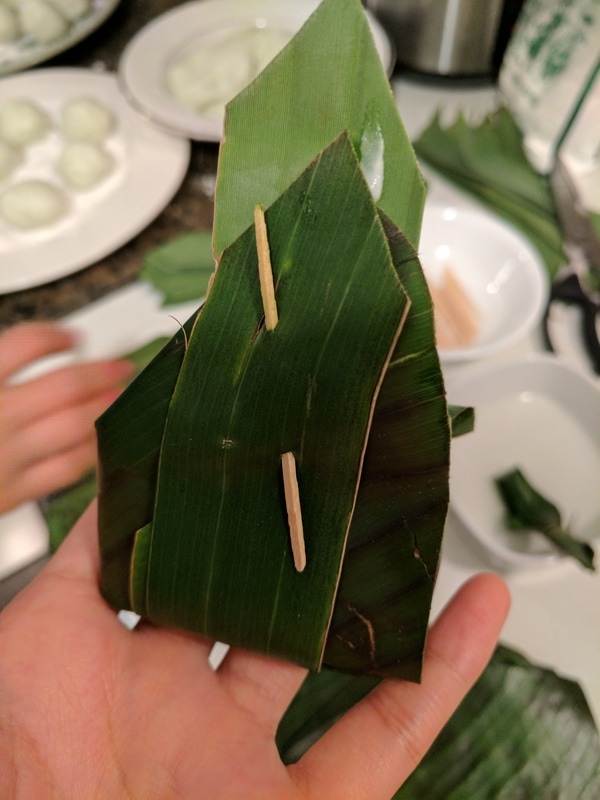 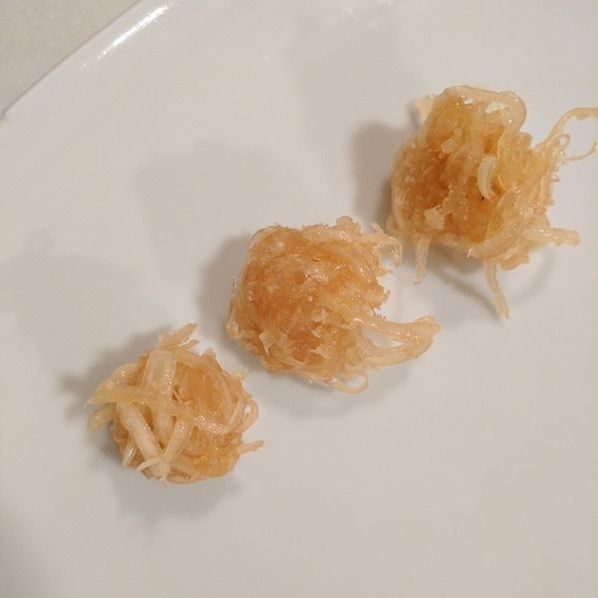 I have to say, making the dessert was a bit tedious. It took us 5 hours in a span of 2 days to complete (just because we weren't in a rush). But it was a great mother and daughter time, so I would encourage anyone to tackle this recipe with their family and friends! Perhaps a great Sunday activity after church?
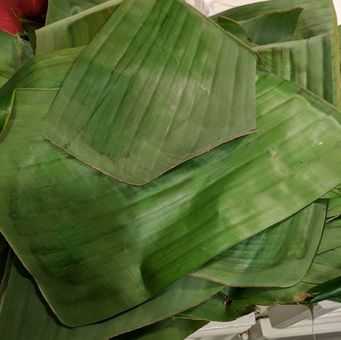
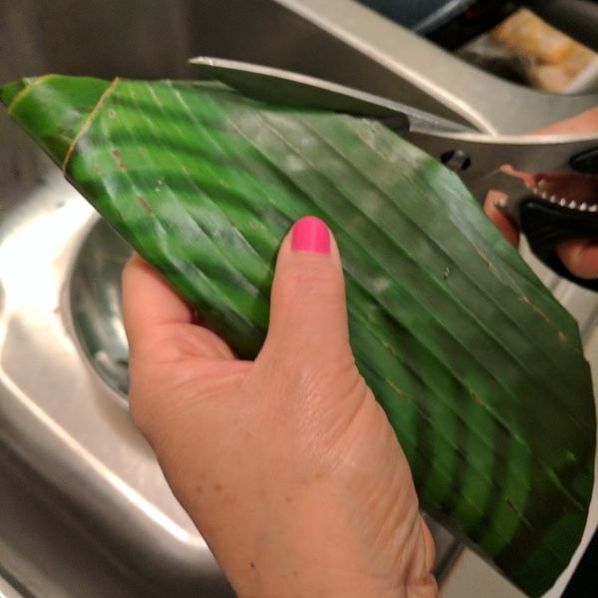
My mom grows banana trees in the backyard so we had a fresh supply of banana leaf, a key item to enhance the aromatic and the flavor profile of Kanom Sai Sai. I think you can substitute with the frozen version that might be easier to find at your local Asian grocery store. To prep the banana leaves, several steps must be taken. First, the leaf has be separated from the central vein, leaving only sheets of banana leaf that are suitable for wrapping our dessert. You want to tear out 3 different sizes of the leaf:
Next, the large and medium size banana leaf are cut into elongated hexagonal shapes. The point of having two sizes of the banana leaf is that when the desserts are wrapped, the medium size sheets act as a buffer layer between the coconut balls and the outer wrapper. This prevents over-spillage (if you stuff them like I did!) and also for aesthetic reasons (medium sheets with the glossy side facing up has greater aesthetic appeal and should be placed on top of large sheets which means dull side should be facing outward). Easier way to think about this is to have the dull side of the medium and large banana sheets to face each other so the glossy side will either be facing you when it's wrapped or when you open it up. Small details really matter when it comes to creating traditional desserts like this. 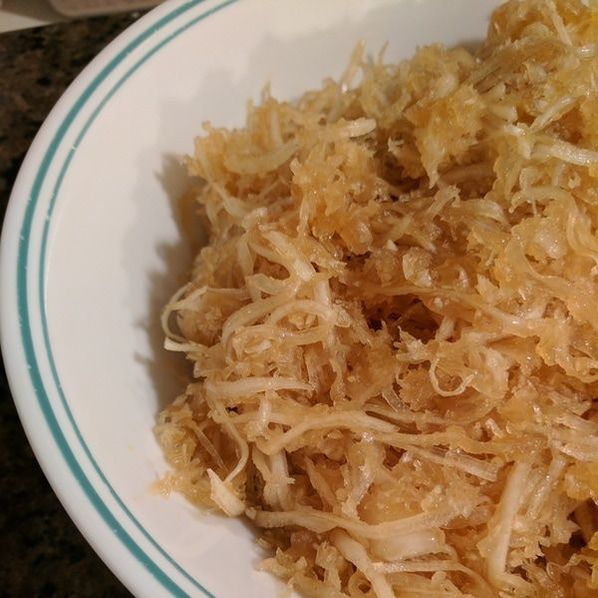 On to the coconut dough, filling, and toppings. You want to stir in palm sugar to a pan with shredded young coconut. We used a frozen packaged shredded young coconut from a Thai produce brand, but I'm sure you can substitute with any other fresh ones. The texture should reach a sticky consistency and that you can almost form a solid ball with them. You want to also make sure that the shredded coconuts are coated with the sugary goodness and no large lumps of sugar is still present. After the mixture has cooled down, form 1- inch balls and line them on a tray. 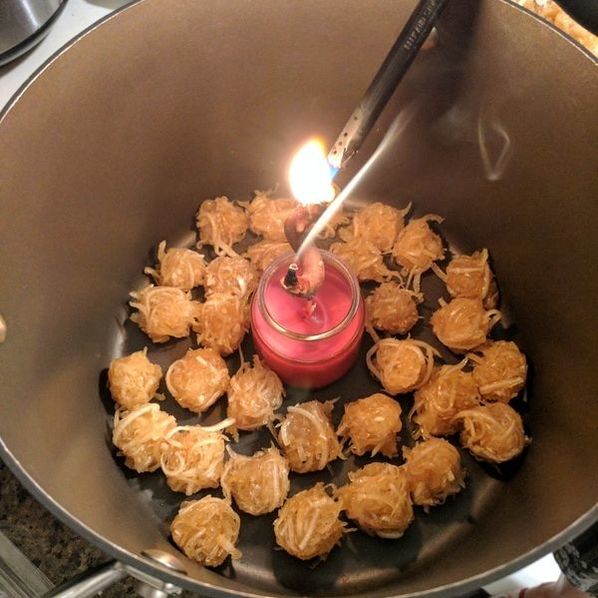 As part of the tradition, we're taking this dessert up another notch and this step is optional. A scented candle made specifically to infuse smoky aromatics to Thai desserts was lit and we smoked the coconut balls in a large stock pot for about 15-20 minutes with the lid on.
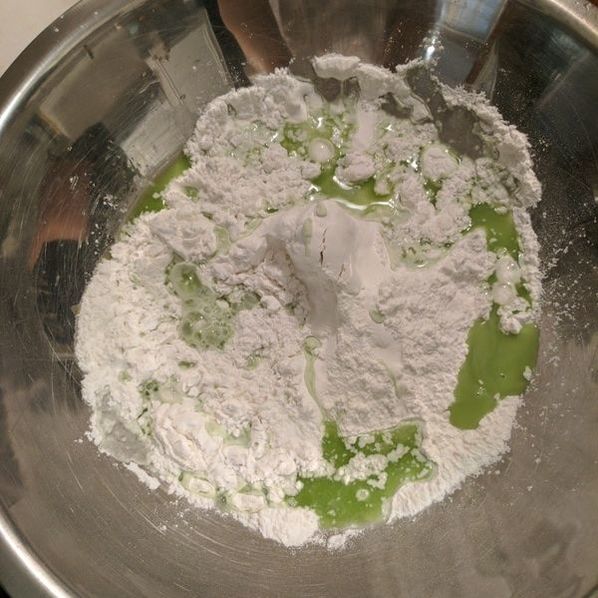
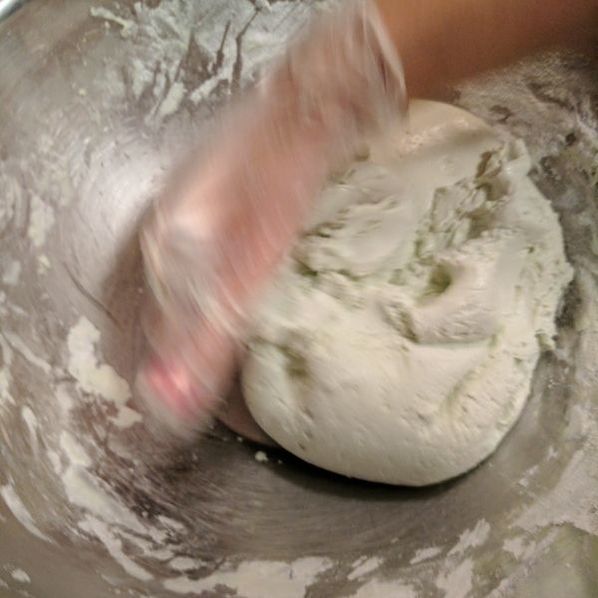
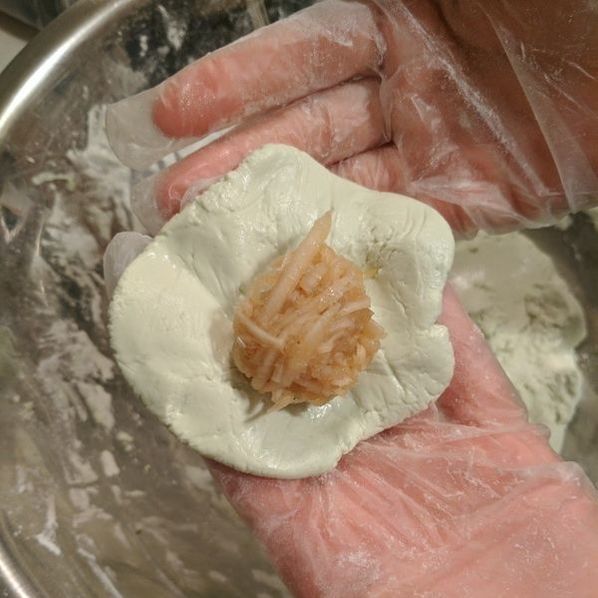
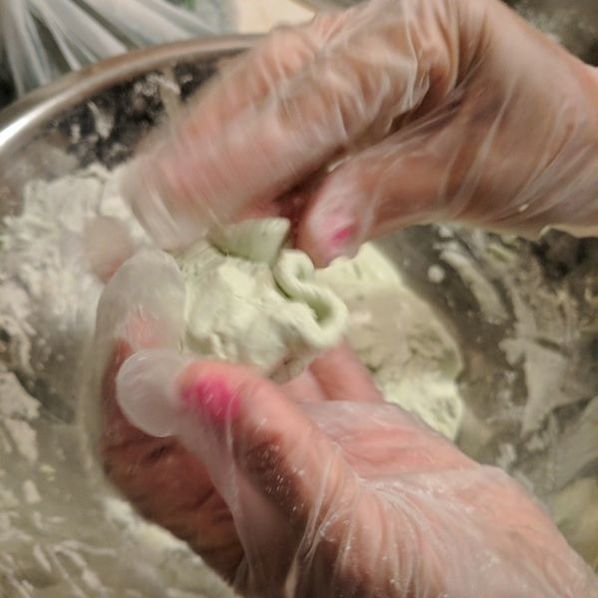
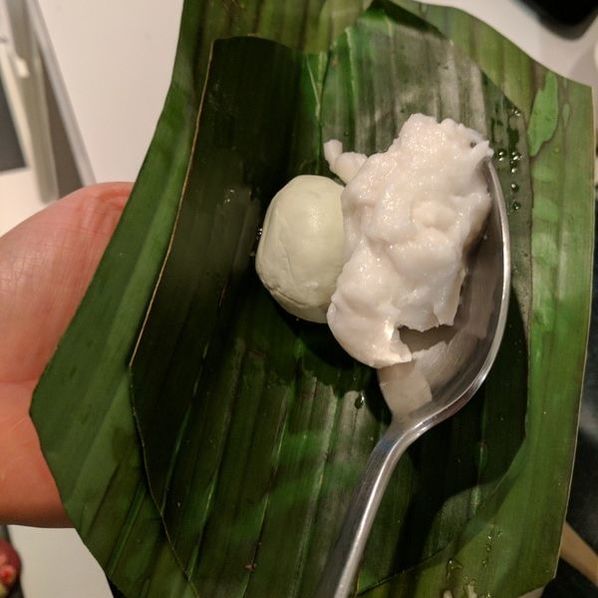
While smoking the coconut balls, we can start making the second layer which is considered as the "dough." Knead together glutinous rice flour and pandan juice until the dough is firm, about 5-10 minutes. Cover to keep the dough moist.  Next, we make the final topping layer. This will require rice flour (jasmine/regular type), coconut milk, and salt. I recommend to use a non-stick pan or pot for this. Stir the ingredients until the mixture achieves a smooth but dense texture (almost like a kinetic sand type of thing). 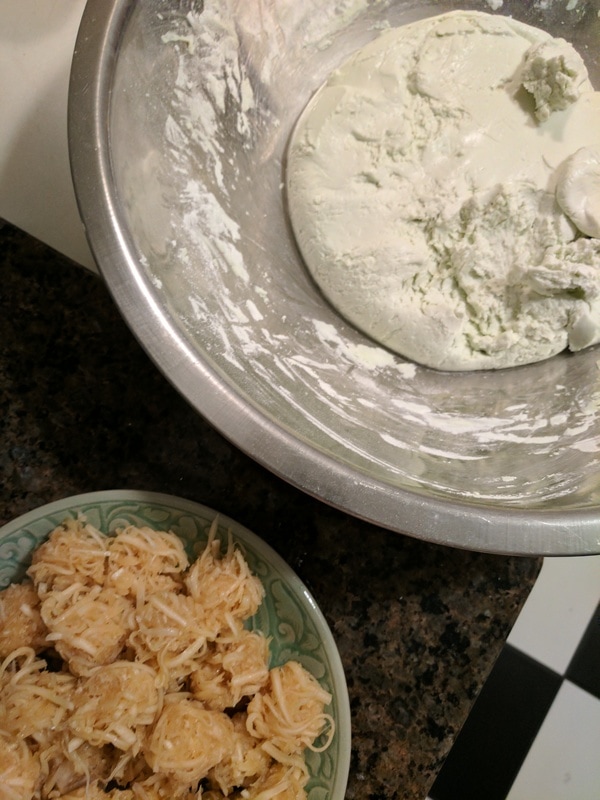 Now that we have all the ingredients prepared, it's time to assemble! First, you take a dollop of dough and form a sphere. I would recommend eyeballing the dough to just barely cover the coconut balls. You don't want the layer too thick or too thin. Remember the rice dough will expand when going through the cooking process. Press the dough flat and insert a shredded coconut ball. Spread out the dough to cover the coconut ball evenly.
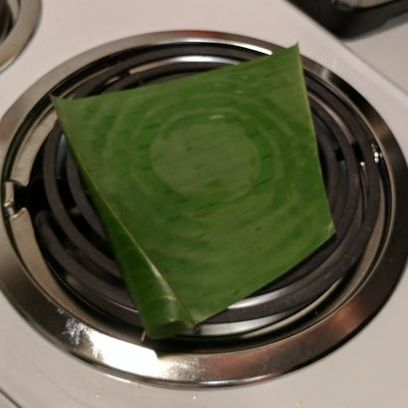
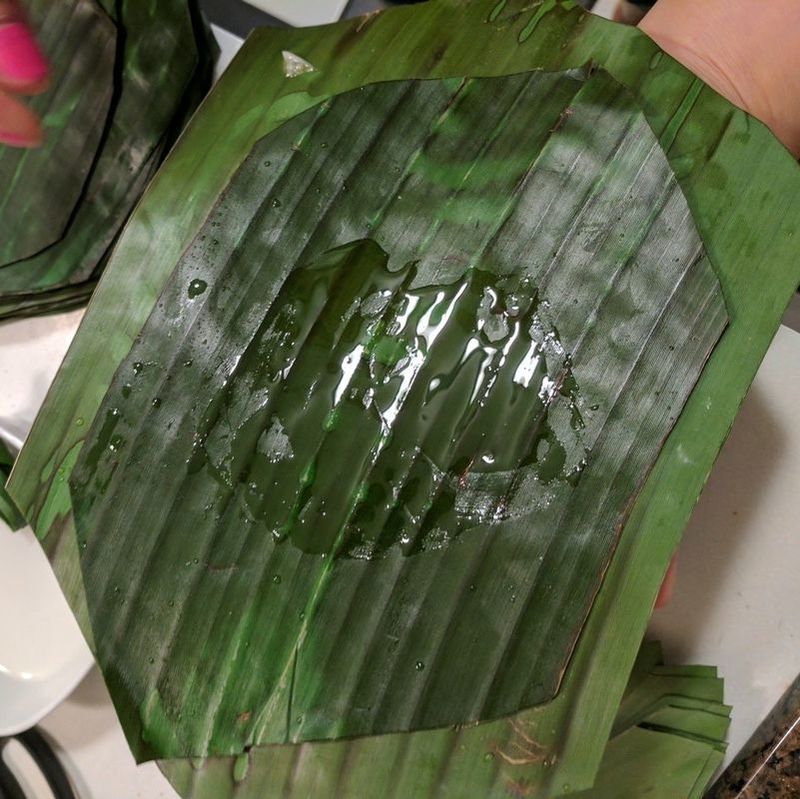
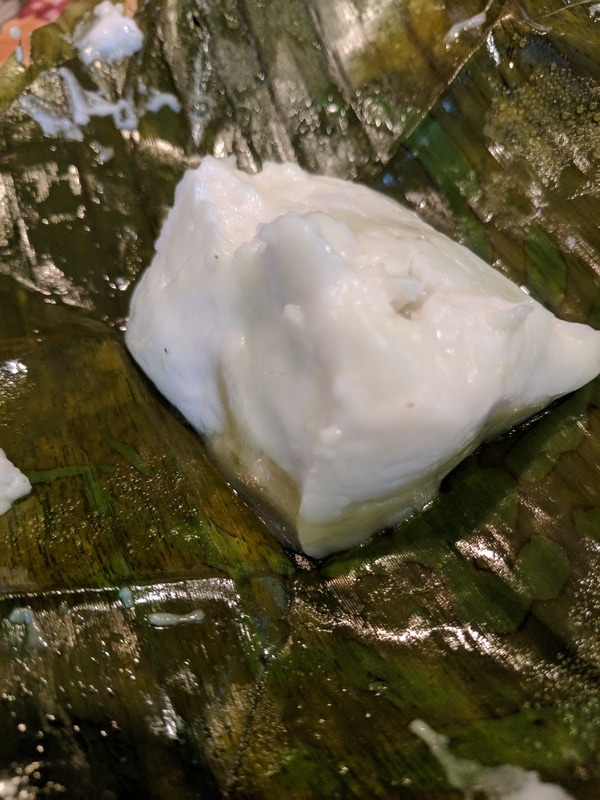
Flour the tray or plate before placing the stuffed dough so that they wont stick onto the surface. 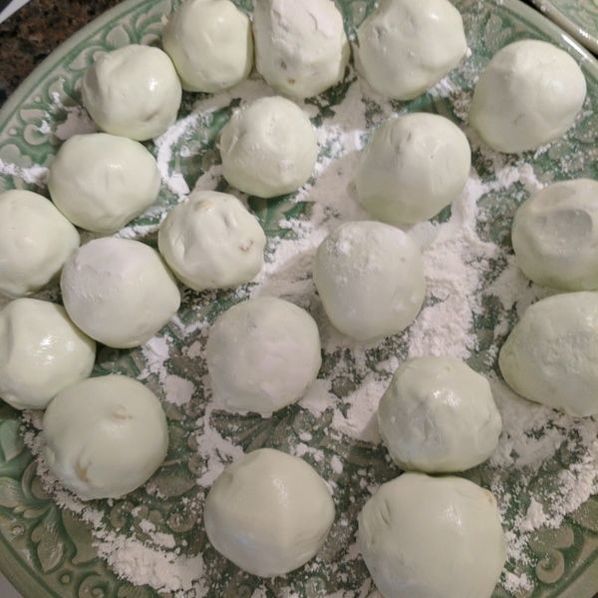 Grease the banana leaf with oil. Make sure that the dull side of the large and medium size banana leaf are facing each other. Hence, the stuff dough should be placed on the glossy side of the medium banana leaf sheet like pictured. Insert one dough ball and a dollop of the topping layer. Spread the topping evenly.
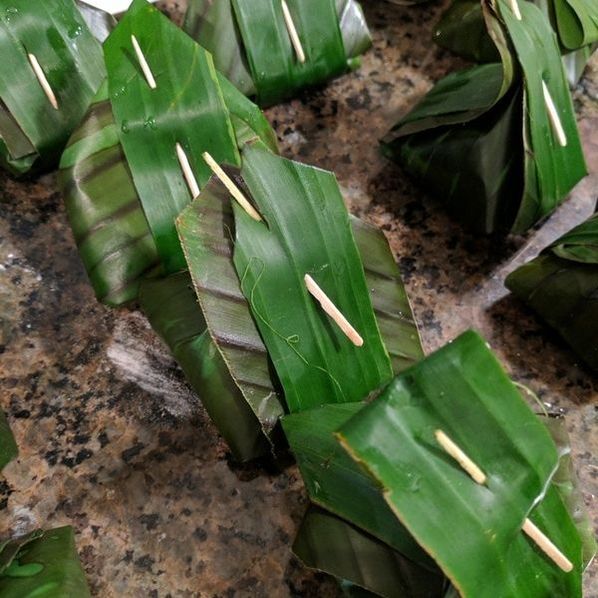
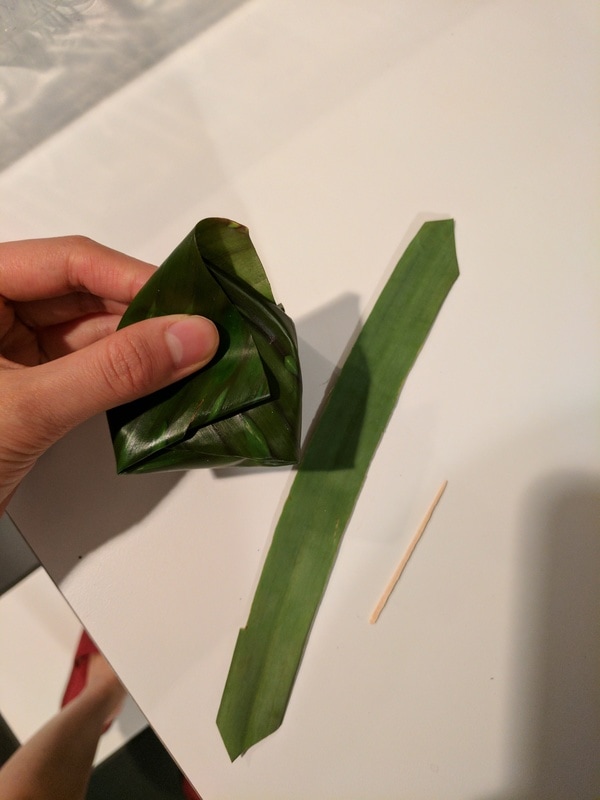
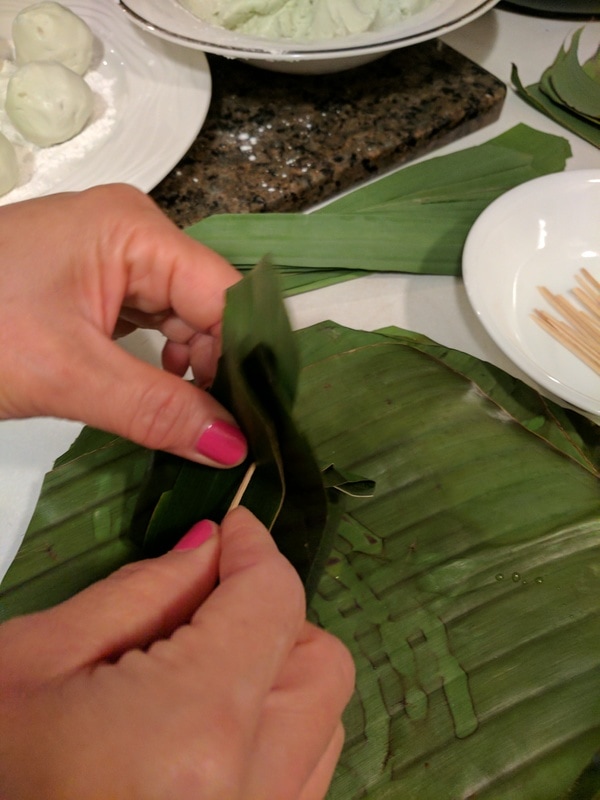
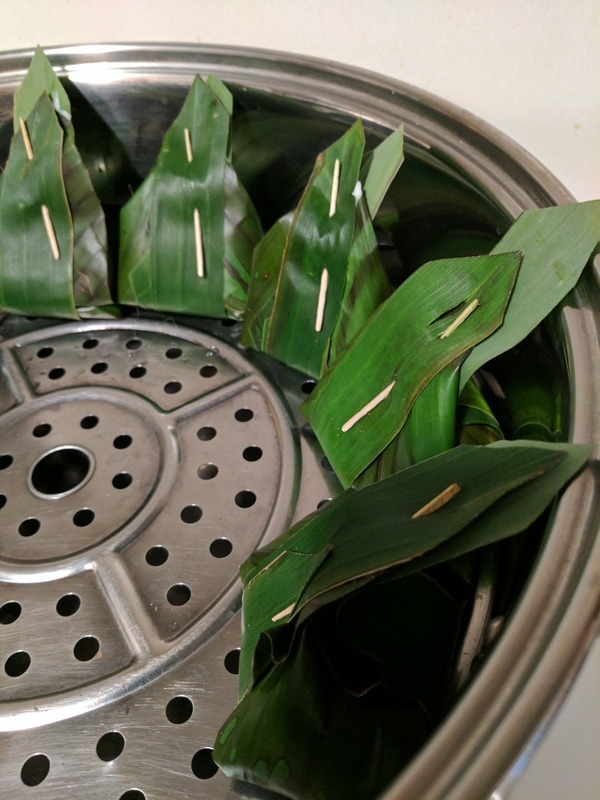
Folding the banana leaves together to make the perfect looking wrapper is difficult might I say. However, don't give up! What you want to do is as you bring the long ends of the sheets together, push in the sides so that the sides are tucked inside. A good looking one would look like the pictured below (out of my 10, this was my closest to a perfect one!) 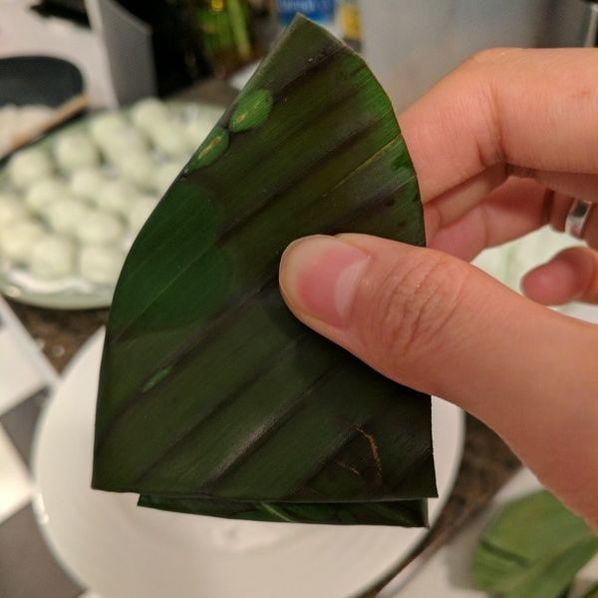 To secure the banana leaves together, we take the 2-inch banana leave strips and wrap around from the bottom. Then ends should be trimmed like a pointy arrow. Then use a toothpick to secure all the leaves together like so.
 Place the desserts in a steamer and steam for about 20 minutes and voila!
Once you taste Kanom Sai Sai, you'll understand why it's worth all the trouble. It is truly artisinal and you just can't find them here in the states! 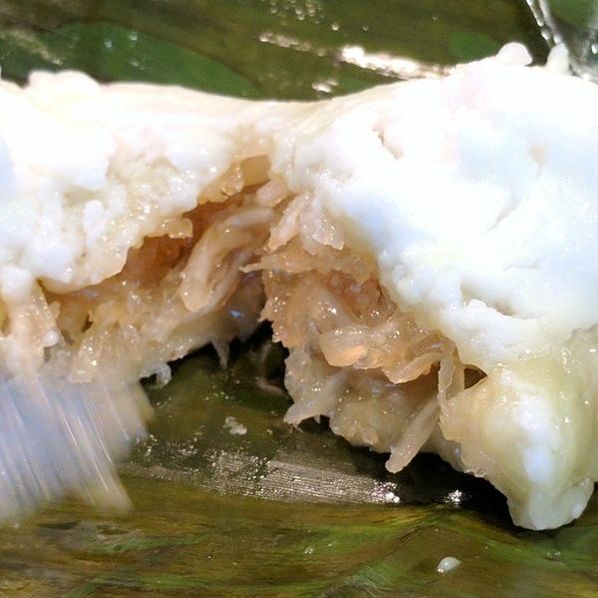 Kanom Sai Sai (ขนมใส่ไส้)
Arroy!
2 Comments
Jenny & Gus
7/13/2022 02:48:14 pm
Glad you enjoyed this! Leave a Reply. |
AUTHORS
Two home cooks creating and tasting dishes from our lovely city of Chicago. Follow our world wide adventure as we discover ingredients, dishes, recipes, and the foodie way of life.
Follow us ❤ IG: @jennyandgusfood FB: Jenny And Gus Food SEARCHCATEGORIES
All
|

 RSS Feed